

Getting started with Studio
New to Studio? Read Welcome to Studio first for what it is, who it is for and the core concepts; this page is the hands-on setup.
Before you begin
You need:
- An invitation to a CreateOS Studio workspace, or permission to create one.
- At least one model provider key in the workspace (OpenAI, Anthropic, AWS Bedrock, or OpenRouter). If you are not an admin, ask your admin to add one. See Step 3.
Step 1. Sign in
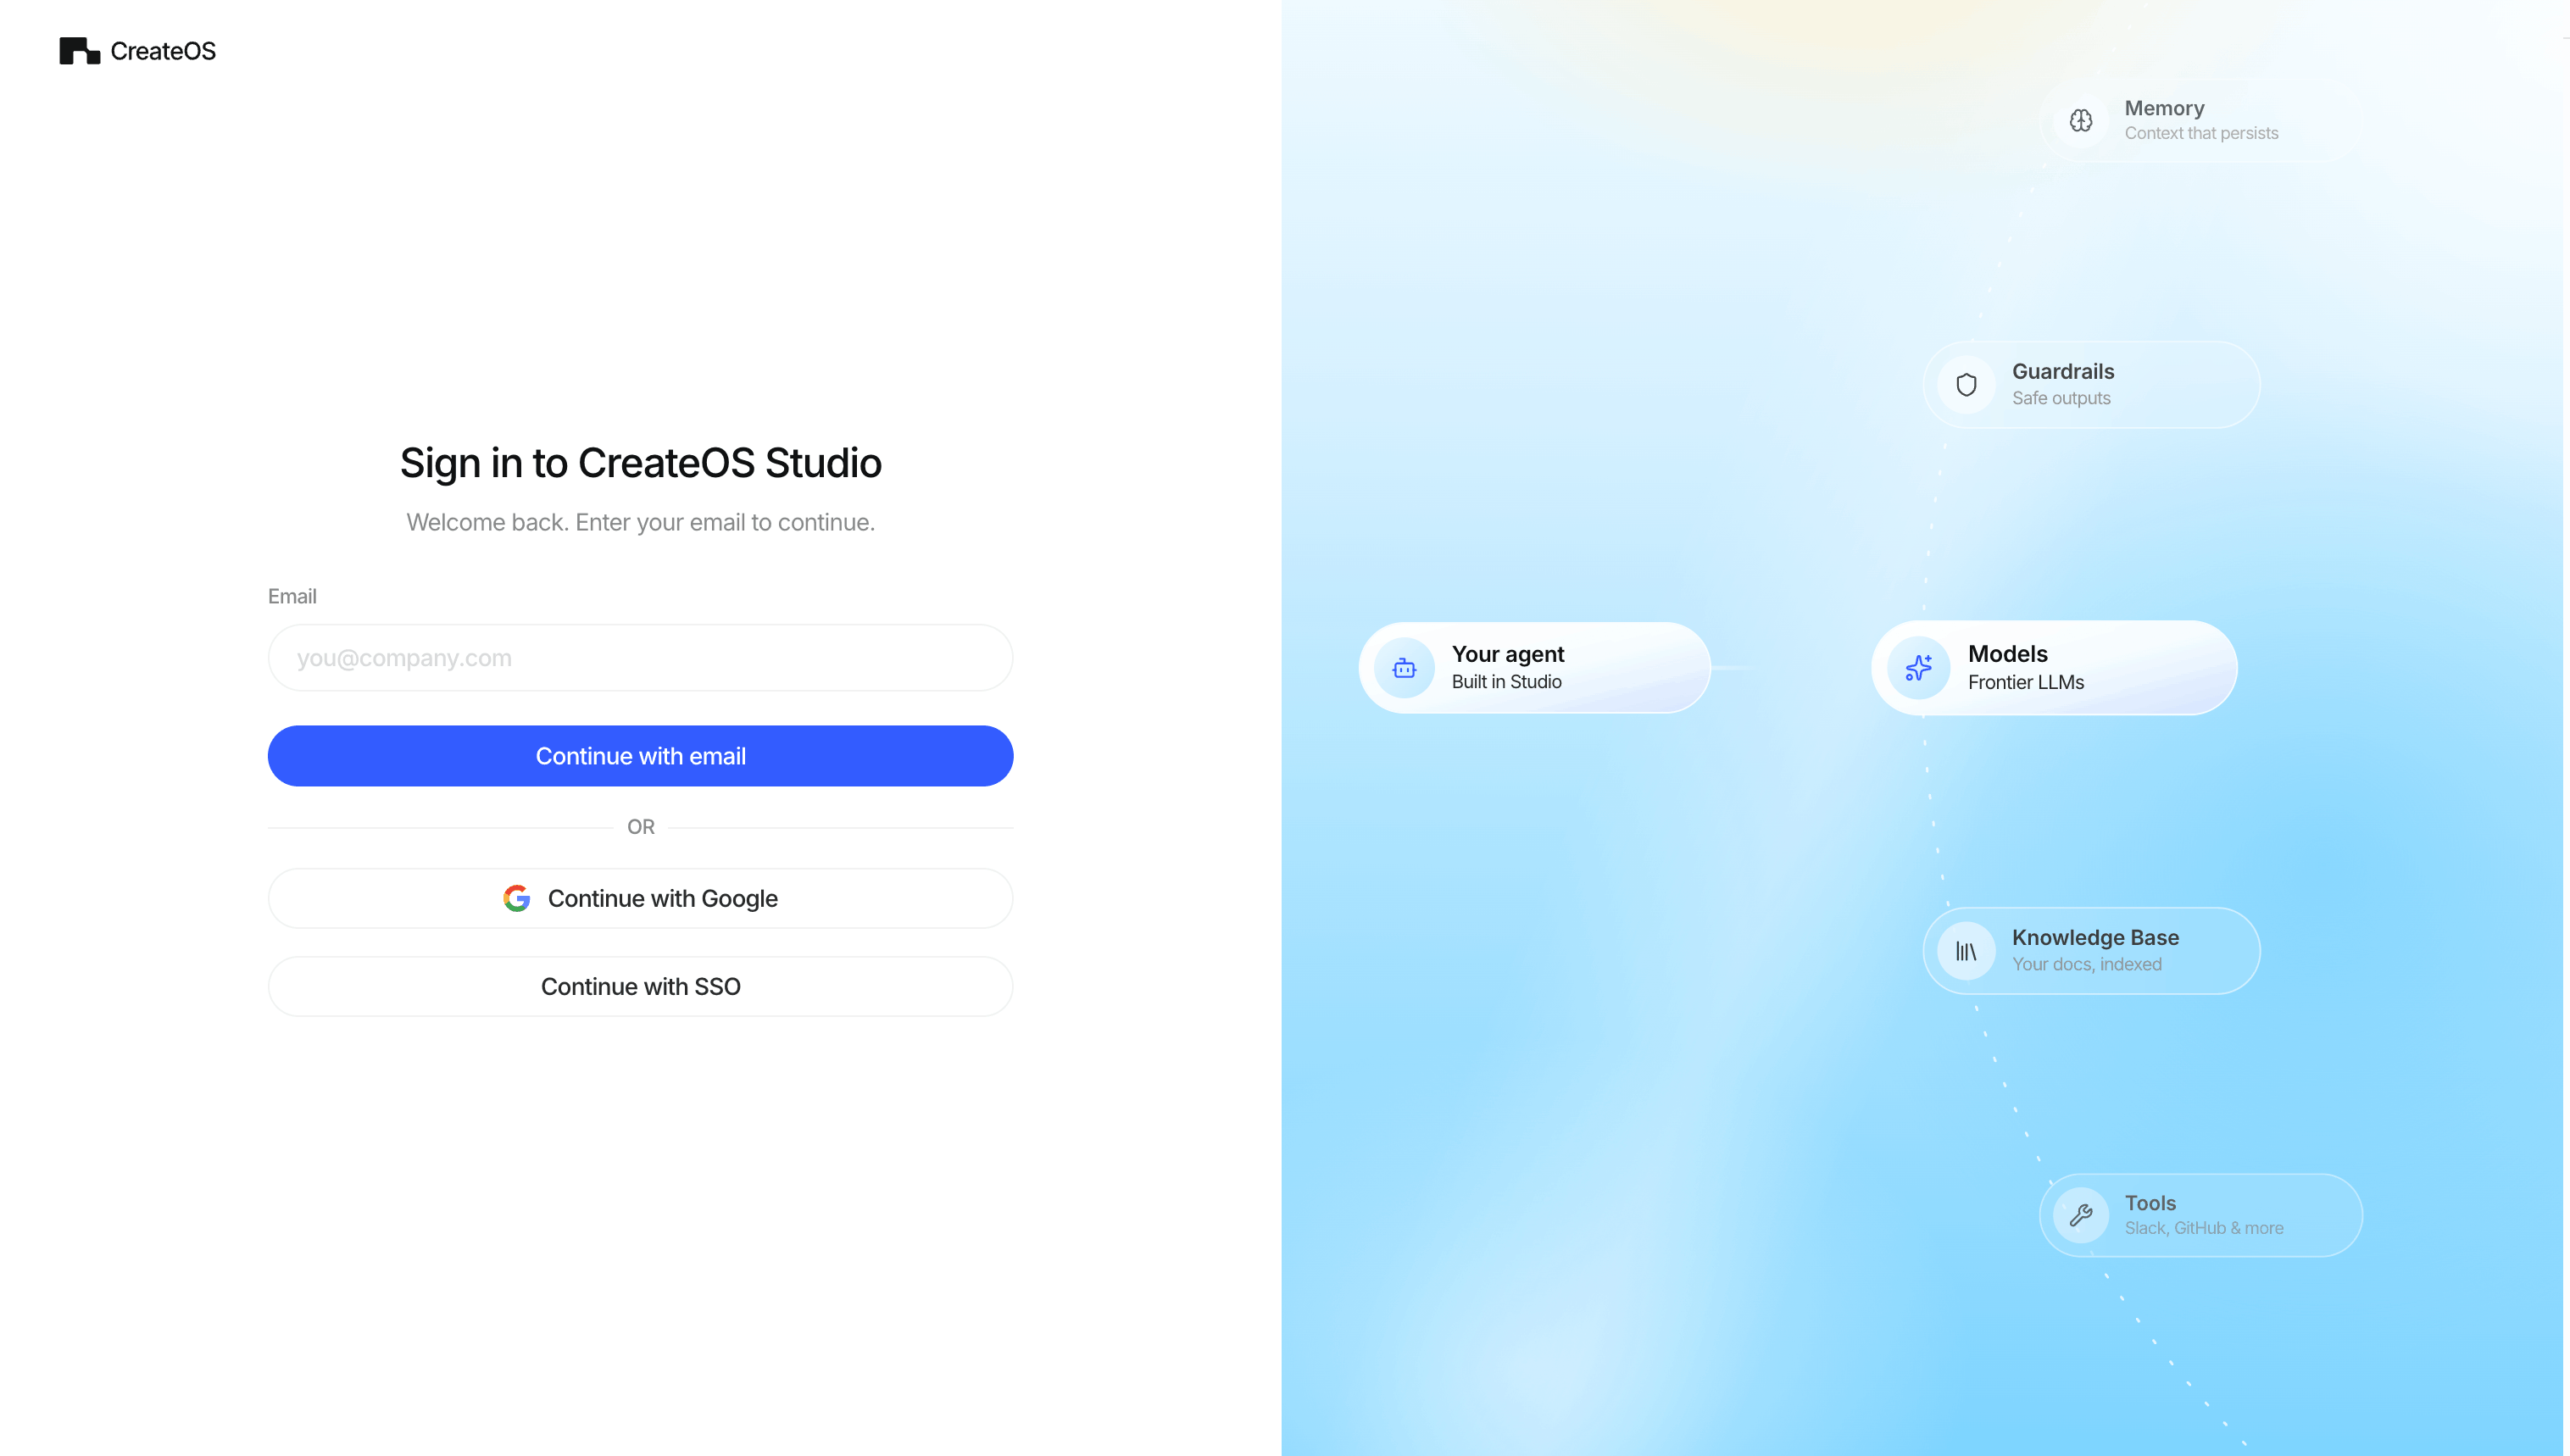
Open your Studio URL. You can sign in with:
- Email code. Type your work email, we send a one-time code, you paste it in. No password to remember.
- Google. One click, if your admin enabled it.
- Company SSO. If your admin set up a SAML/OIDC provider, use your company login.
Step 2. Set up your workspace
If you are the first person, onboarding walks you through two screens:
- Create your organization. Name and logo. This is your workspace.
- Invite your team. Enter email addresses. Invited people get an email with a join link.
If you were invited, you land straight in the workspace.
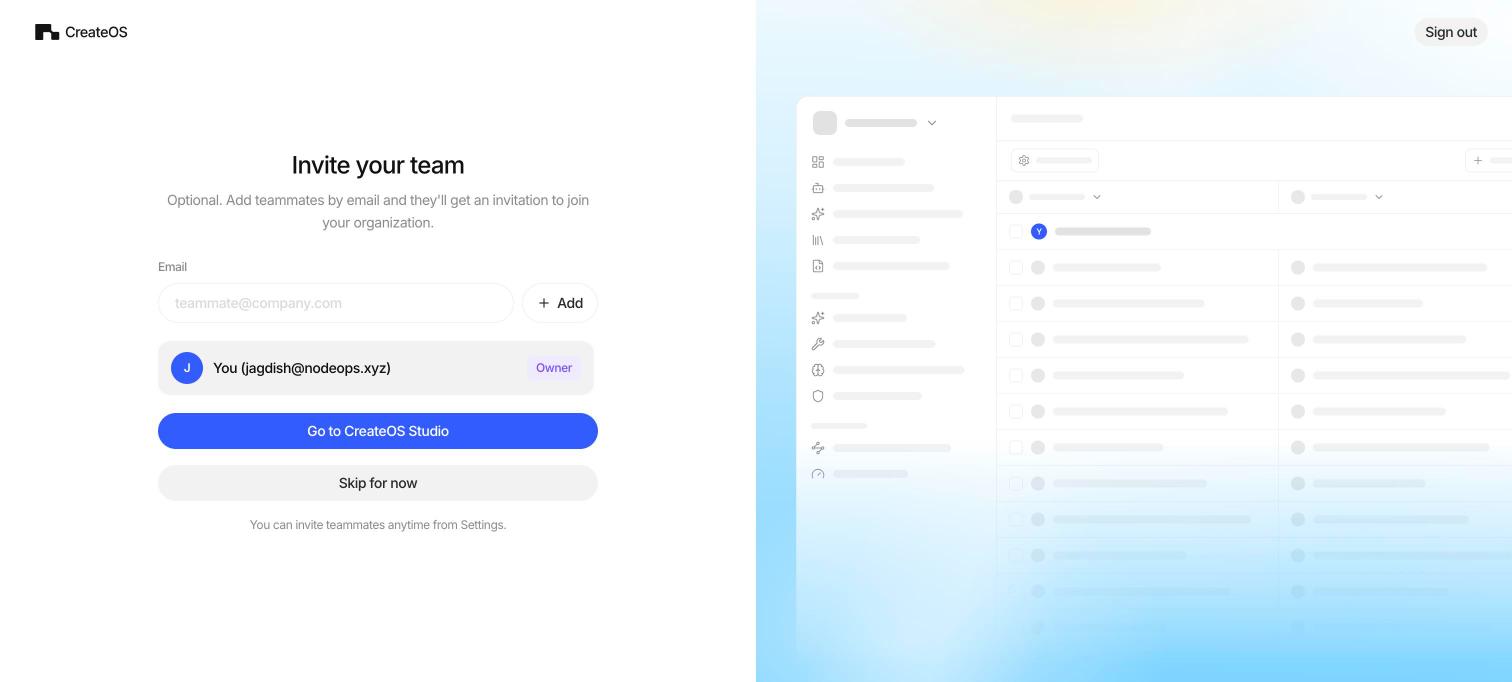
The person who creates the organization becomes its admin. Admins can do everything, including deleting the organization.
Step 3. Connect a model provider (admin)
Agents need a model. Models come from a provider your admin connects once.
- Go to Models in the sidebar.
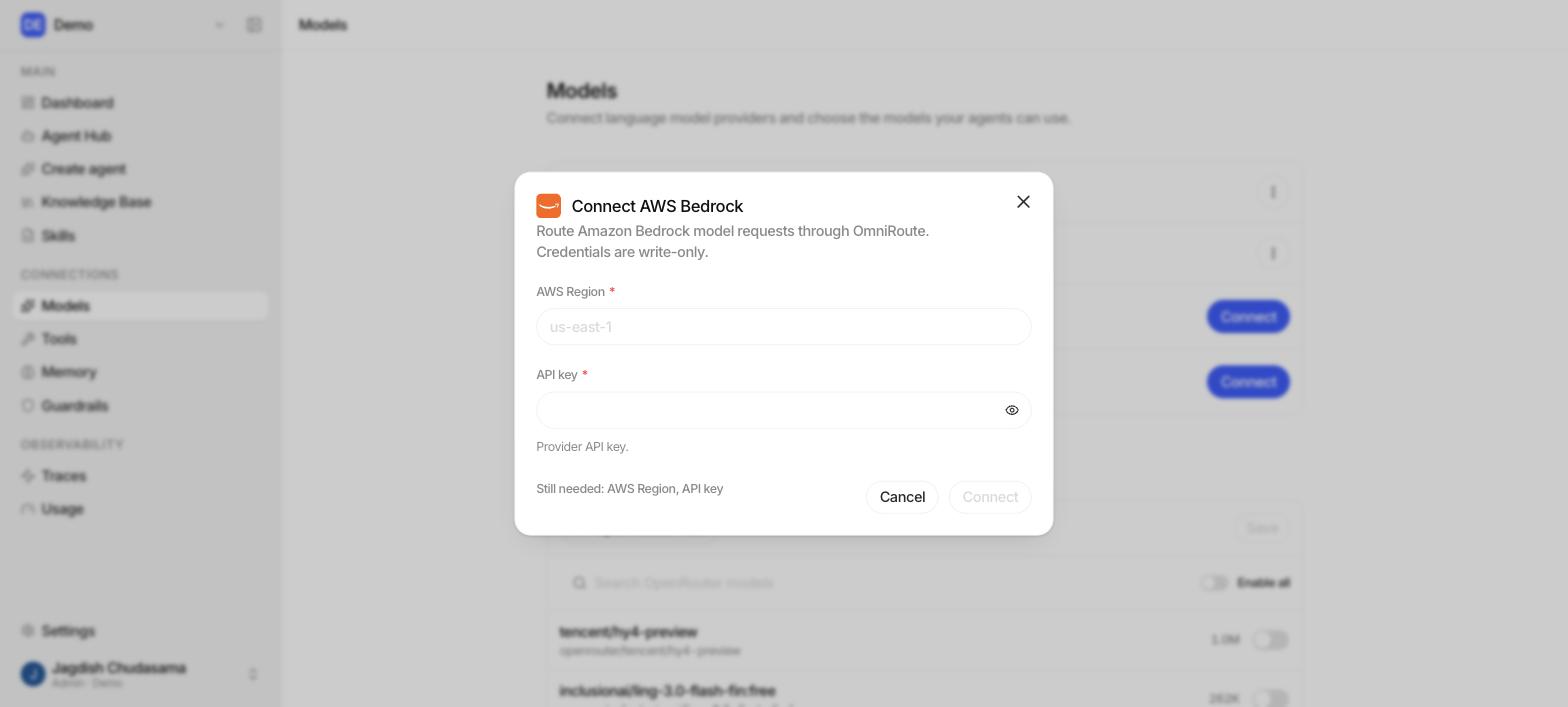
- Each provider has its own card: OpenAI, Anthropic, AWS Bedrock, and OpenRouter. Find the one you want and click its Connect button.
- Paste the API key. For Bedrock, also pick the AWS Region first.
- Click Connect.
Studio validates the key, encrypts it, and registers the provider with the model gateway. The key is never shown again, not in the UI and not through the API.
Once connected, the models appear in every agent's model picker. Below the provider cards, Available models is the allowlist: toggle individual models on or off (or use Enable all) and click Save, so only approved models are selectable.
Full detail: Model Gateway.
Step 4. Create your first agent
- Click Create agent in the sidebar.
- Choose a starting point: Blank agent, or one of the organization Templates (Support Desk, Research Brief, Sales Copywriter, and more), which opens a filled-in draft you can edit.
- Name it in the Name your agent dialog, for example
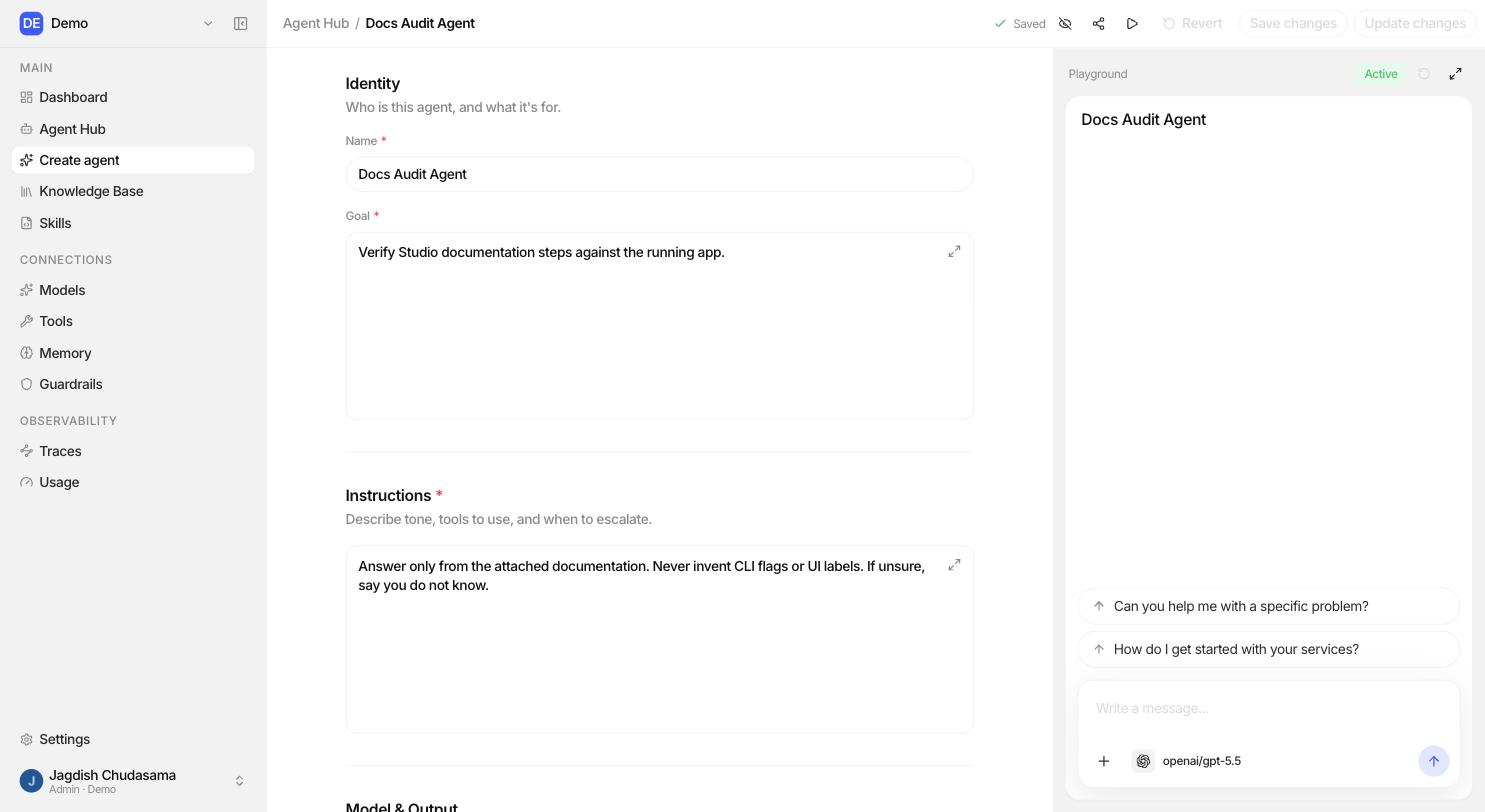
Support Triage, then click Create agent. - You land in the Agent Builder, split in two: configuration on the left, the Playground on the right.
Fill in the essentials:
| Field | What to write | Example |
|---|---|---|
| Goal | One sentence: what the agent is for. | Classify incoming support emails and draft a first reply. |
| Instructions | How it should behave. Tone, rules, what to never do. | Always reply in the customer's language. Never promise a refund. |
| Model | Pick from the connected providers. | anthropic/claude-sonnet-5 |
| Output format | Text, JSON, Image or File. | Text |
Full detail: Goals & Instructions.
Step 5. Ground it in your content (optional but recommended)
Scroll to Knowledge and attach a knowledge base so the agent answers from your material instead of guessing.
To make one:
- Go to Knowledge Base → New knowledge base.
- Upload files: PDF, DOCX, DOC, TXT or MD.
- Wait for each document to reach Ready. Studio parses, splits, embeds and indexes it for you.
- Return to the builder and attach it.
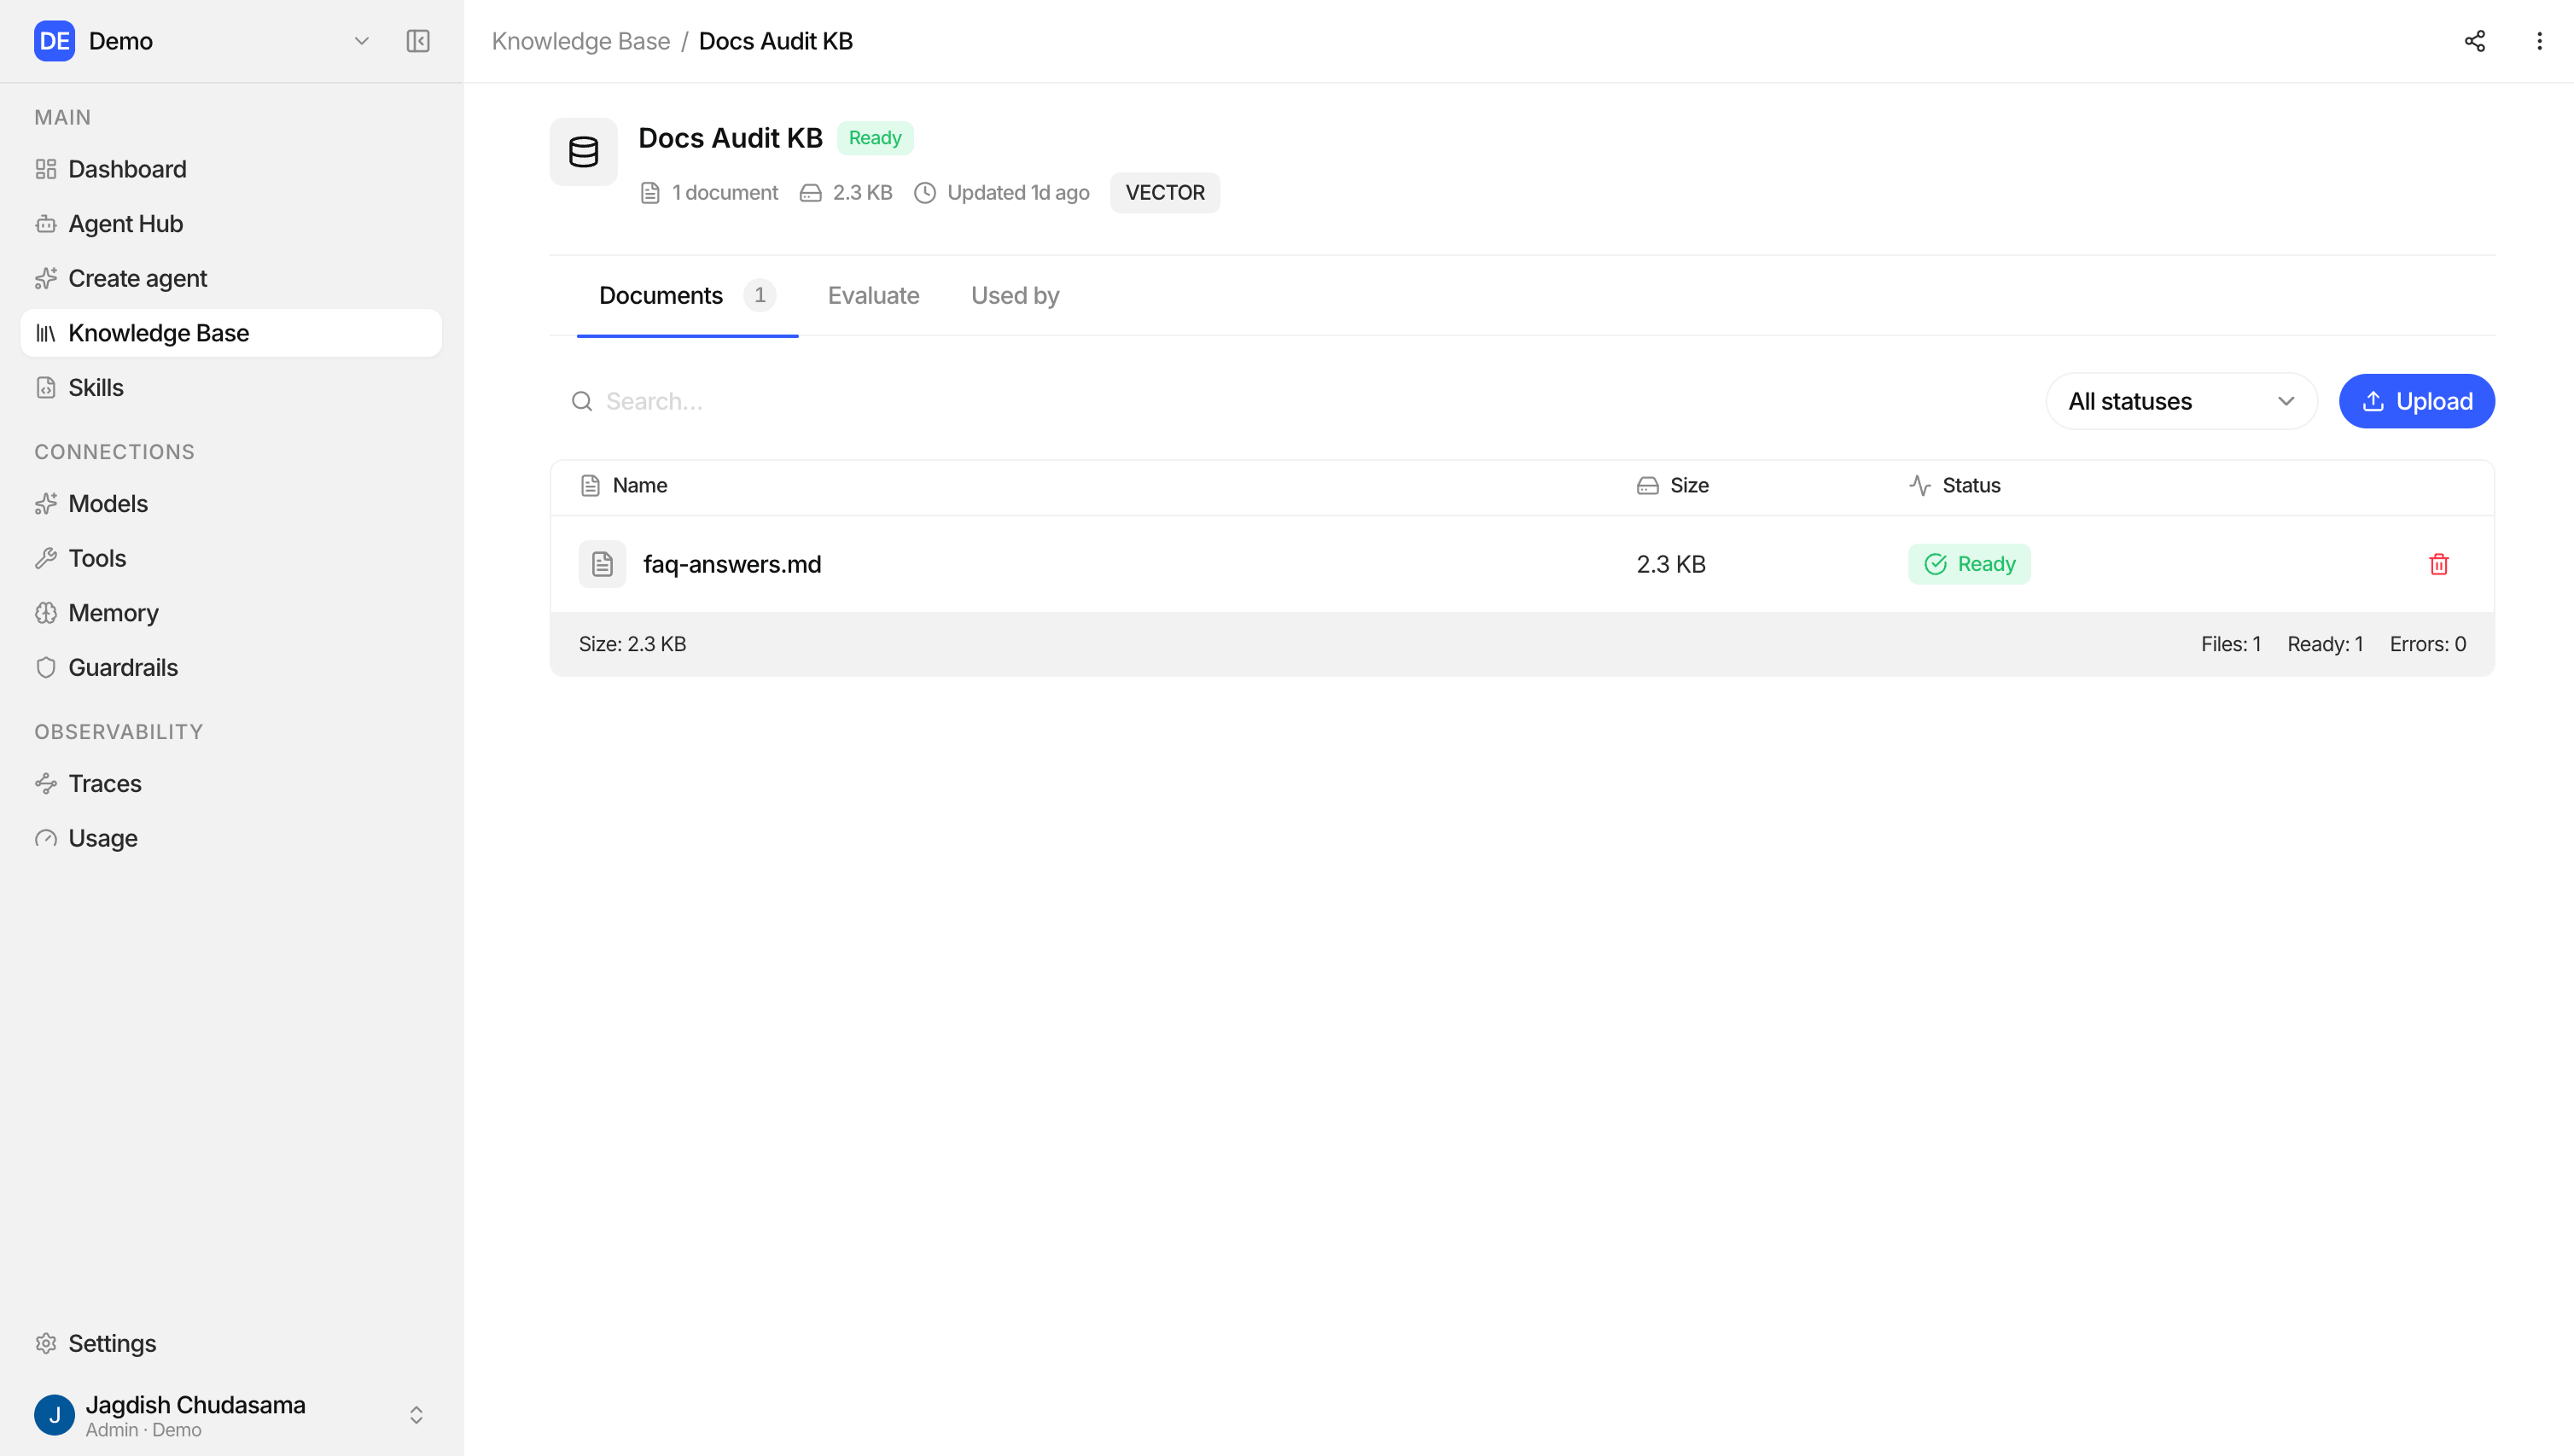
Full detail: Knowledge base.
Step 6. Test it in the Playground
The right-hand pane is the Playground. Type a real question and watch the answer stream in.
While it runs you can:
- Stop a run that is going the wrong way.
- Answer a question the agent asks you. Agents can pause and wait for a human.
- Clear playground to wipe the conversation and start clean.
Change a word in the instructions, run again, compare. That loop is the whole job.
Full detail: Sandbox.
Step 7. Publish
When you are happy, click Publish.
An agent must have a name, a goal, instructions, a model and an output format before it can be published. Publishing moves it from Draft to Active and it appears in the Agent Hub, where your team can run it.
| Status | Meaning |
|---|---|
| Draft | Still being built. Only people you shared it with can open it. |
| Active | Published and runnable. |
| Paused | Temporarily stopped. Configuration is kept. |
| Archived | Retired. Can be restored later. |
Step 8. Watch it work
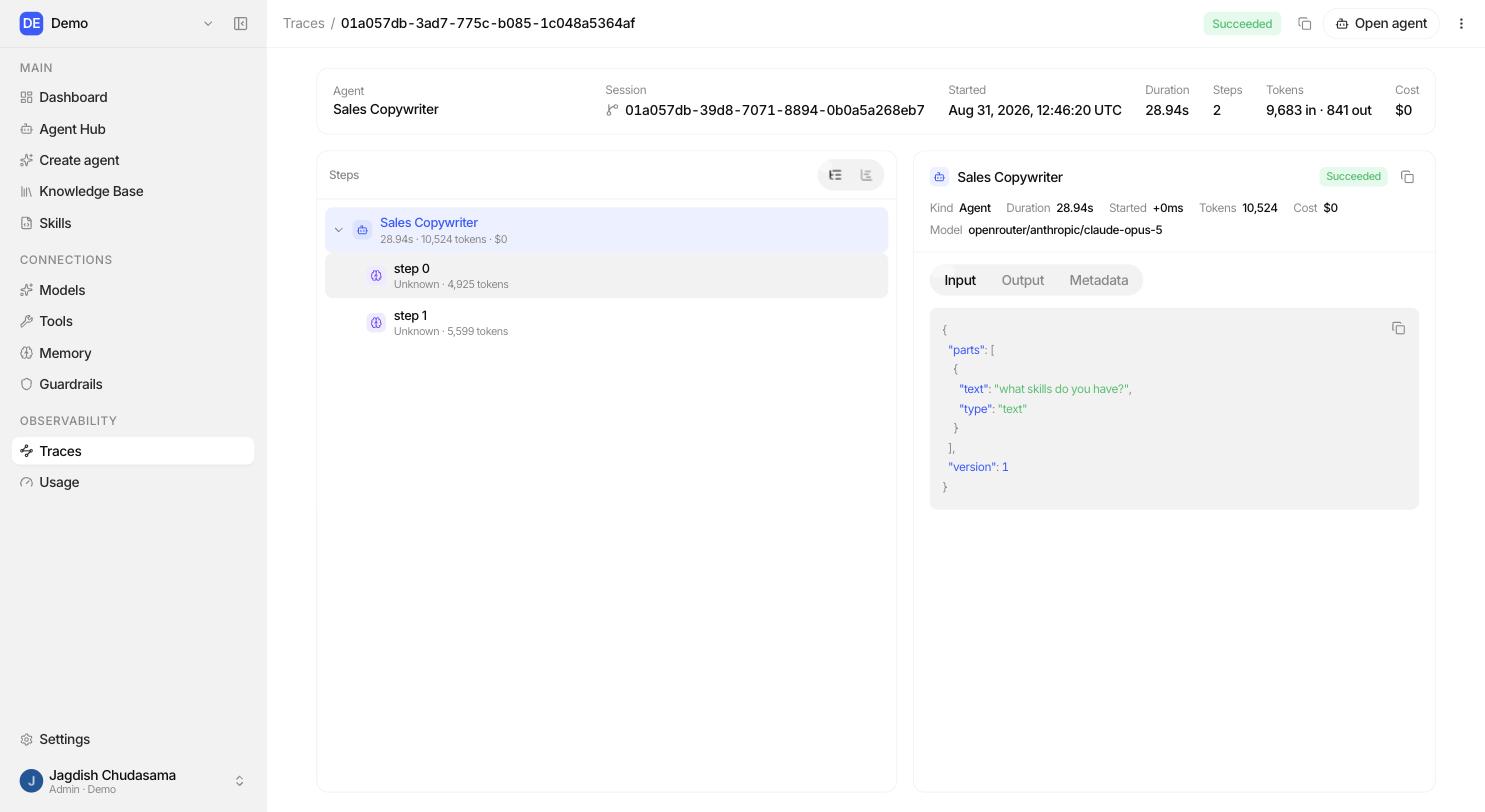
- Traces. Every run, step by step: which model was called, which tools ran, how long each took, how many tokens it used and what it cost.
- Audit log. Who changed what, and who was refused.
- Usage. Spend and volume over time.
Your first-week checklist
- Sign in and create the organization
- Invite your team
- Connect a model provider
- Create and publish one agent
- Upload a knowledge base and attach it
- Connect one tool (Gmail, Slack, Notion...)
- Turn on a guardrail
- Create a role for non-admins
- Open a trace and read it end to end
Running Studio locally (for developers)
Prerequisites: bun, PostgreSQL, pre-commit, and runtimes installed via
asdf.
# 1. Install dependencies (also wires up git hooks)
bun install

# 2. Configure apps/web/.env (see .env.example)
#    DATABASE_URL, BETTER_AUTH_SECRET, BETTER_AUTH_URL, CORS_ORIGIN,
#    EVE_INTERNAL_API_SECRET, SECRET_VAULT_KEY / SECRET_VAULT_KEY_ID

# 3. Apply the database schema
bun run db:migrate:deploy
bun run db:generate

# 4. Start Studio + the agent runtime
bun run dev| Service | URL |
|---|---|
| Studio (web + API) | http://localhost:3001 |
| Agent runtime | http://127.0.0.1:4274 |
| Model gateway (OmniRoute) | http://localhost:20128 |
The model gateway runs separately:
npm install -g omniroute
omniroute
Then point Studio at it with OMNIROUTE_BASE_URL and
OMNIROUTE_MANAGEMENT_API_KEY.
Where to go next
- Agent Builder: every section explained.
- Tools: connect Gmail, Slack, Notion, Salesforce and more.
- RBAC, teams and permissions: set up who can do what.